Set Up Your Nest Wifi Pro
Depending on your home setup, you'll either use a self-install kit or schedule a professional installation during signup:
- Self-install kit: We ship a kit to your door, or you can pick one up at select GFiber locations when you place your order.
- Professional installation: A technician installs your equipment for you.
Quick Setup Guide

To install your Nest Wifi Pro with Wi-Fi 6E:
-
Power on your Fiber Jack.
-
Connect the Fiber Jack to your Nest Wifi Pro’s WAN port (globe icon) with an Ethernet cable.
-
Turn on your router.
-
Set your Wi-Fi name and password in the Google Home App.
Total setup time: about 10–15 minutes.
What’s in Your Self-Install Kit
Open your self-install kit and confirm you have everything:
-
Nest Wifi Pro 6E

-
Nest Wifi Pro 6E power adapter
-
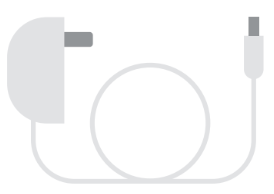
Fiber Jack power adapter

-
Ethernet cable

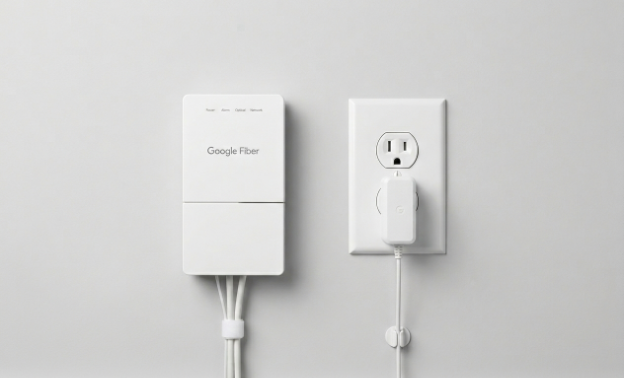
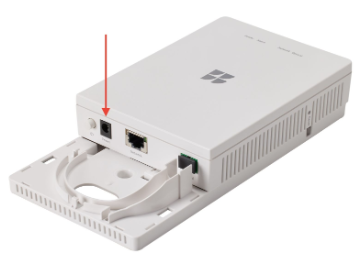
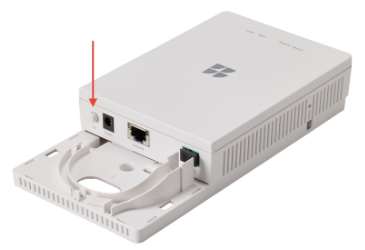
Step 1: Find the Fiber Jack
Your Fiber Jack is the small white box that connects your home to the internet. A technician may have installed this during your original appointment, or it could have been left there by a previous homeowner or tenant. Look for it on a wall, usually where the fiber line first enters your house through your NIU.
Check these common spots:
- Mounted on a wall in a central area or utility closet.
- Hidden inside a plastic media panel in a bedroom closet or behind the front door.
- Connected to an old router with an Ethernet cable.
There are two Fiber Jack models:
- Single-light model (blue lights)
- Four-light model (green lights)
Prefer to watch a video? See how to find your Fiber Jack.
If you still can't locate it, contact us.
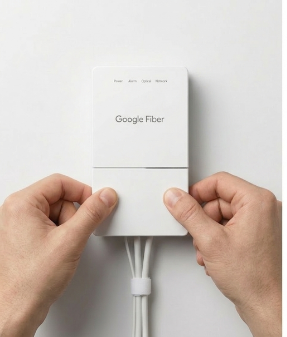
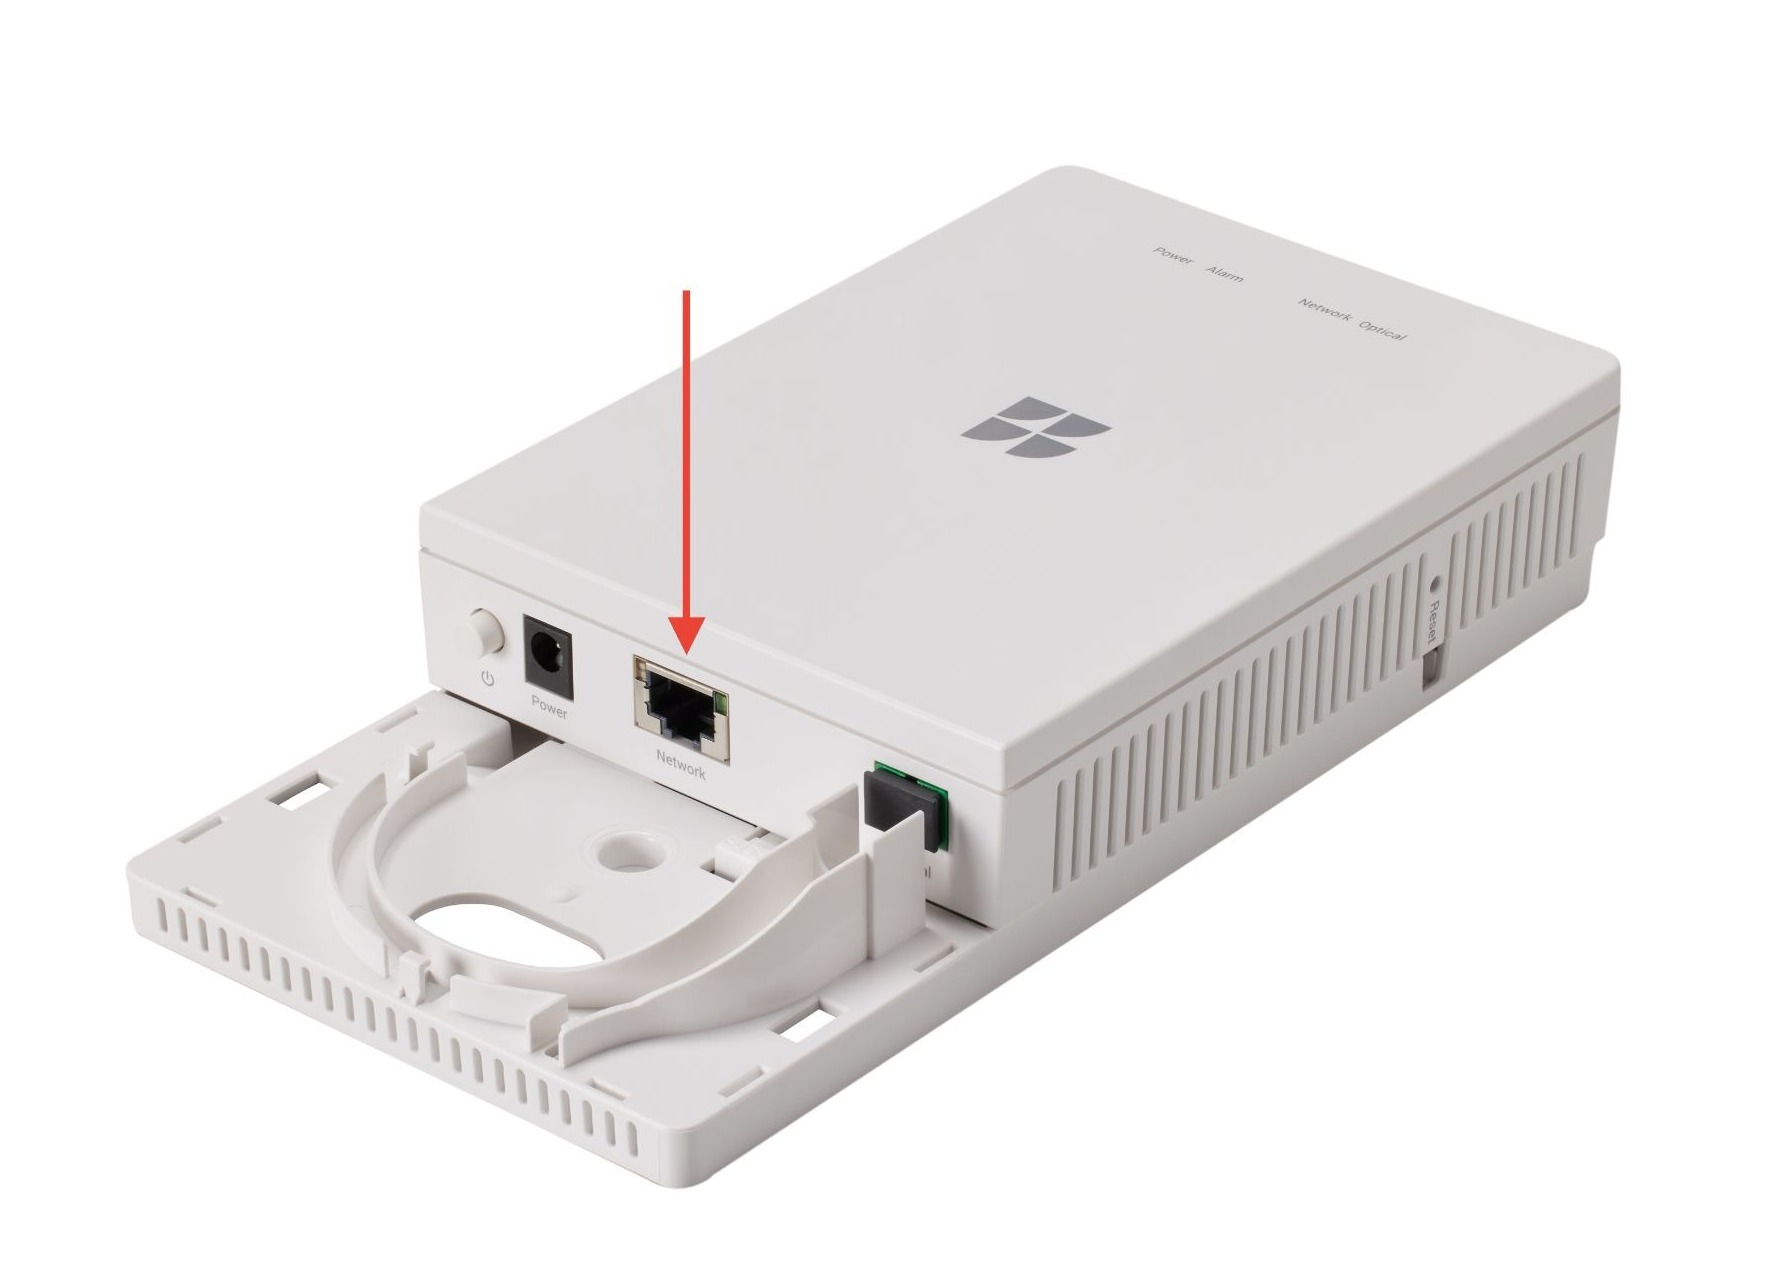
Step 2: Connect the Fiber Jack to Power
To connect your Fiber Jack to power, follow these steps:
-
Remove the bottom cover of the Fiber Jack by placing your fingers in the side dents and gently pulling.
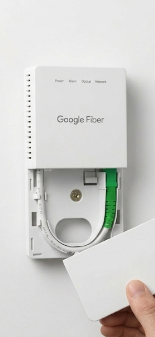
-
Check if the Fiber Jack is plugged in. If it is not, connect the power adapter from your self-install kit and plug it into a wall outlet.
-
The Power light should start blinking. If it does not, press the Power button on the inside left side of the Fiber Jack.
-
Wait for the light to turn a solid color before moving on.
Having trouble connecting? See our Fiber Jack troubleshooting guide.
Step 3: Connect the Fiber Jack to Your Router

-
Plug one end of the Ethernet cable into your Fiber Jack.
-
Plug the other end into the WAN port (globe icon) on your Nest Wifi Pro.
-
Connect the router’s power adapter to a wall outlet.
-
Wait for the router light to slowly pulse blue. If the light does not pulse blue, review the light status guide below.
-
Slide the Fiber Jack cover back into place.
Step 4: Set up Your Wi-Fi Network Name and Password
-
Download the Google Home App from the Google Play Store or Apple App Store.
-
From the Home tab, tap Add > Device > Scan QR Code.
-
Choose a home.
-
Select your Nest Wifi Pro router.
-
Scan the QR code on the bottom of your device.
-
Hold your phone about 5 in (12 cm) away to scan. Need help? Learn more tips for scanning QR codes.
-
Can’t scan the code? Tap Continue without scanning and enter the setup key from the bottom of your device. See where the setup key is.
-
-
Give your Wi-Fi network a name and password.
Use the same Wi-Fi name and password you used before and your devices should reconnect automatically. -
Select a room for your router, or create a new one.
-
Your router will create your Wi-Fi network — this may take a few minutes.
-
To add another device now, tap Yes in the app or follow the steps below to add a point later.
Step 5: Add More Points (Optional)
You can add more Nest Wifi Pro routers to expand coverage throughout your home. Additional routers added to your mesh network are called points. Use the Google Home App to set them up.
-
Open the Google Home App.
-
From the Home tab, tap Add > Device > Scan QR Code.
-
If prompted, choose a home.
-
Select the device you'd like to add as a point and tap Next.
-
Scan the QR code on the bottom of the device.
-
Hold your phone about 5 inches away to scan. Need help? Learn more tips for scanning QR codes.
-
Can’t scan the code? Tap Continue without scanning and enter the setup key from the bottom of your device. See where the setup key is.
-
-
Follow the in-app instructions to finish setup.
-
To add another point, tap Yes when prompted — or repeat those steps later.
Once all your devices are added, the app will run a mesh test to confirm everything's working.
iOS users: To enable Thread, grant Google Home App permission to access your network when prompted.
Nest Wifi Pro Light Status Guide
Light | What it means | What to do |
No light | No power | Check cables and outlets. If there's still no light, contact us. |
Solid white | Online | You’re all set! |
Fast pulsing white | Starting up or updating | Wait 1 minute for the light to pulse blue. |
Slow pulsing blue | Ready for setup | Open the Google Home App to begin. |
Fast pulsing blue | Pairing | Wait for pairing to complete. |
Solid yellow | Factory resetting | Wait 10 minutes for the reset to finish. |
Slow blinking yellow | Network error | Check the Ethernet connection between your router and modem. |
Fast blinking yellow | Setup error | Wait for pulsing blue, then try pairing again. |
Fast blinking red | Critical error | Factory reset the device. If it stays red, contact us. |