Set Up Bridge Mode
Learn how to use bridge mode to connect your own personal router while keeping your GFiber connection active.

You probably don’t need bridge mode
Usually, if you want to use your own router, you can plug it directly into the Fiber Jack on their wall — no bridge mode required. See how to connect your own router here.
Usually, if you want to use your own router, you can plug it directly into the Fiber Jack on their wall — no bridge mode required. See how to connect your own router here.
Bridge mode is an optional setting. It lets your personal router manage your Wi-Fi and network settings while your GFiber router passes the internet connection through.
When to use bridge mode
Bridge mode is for more advanced network setups. You’ll only need to enable it if:
- You have the GFiber Multi-Gig Router (model GFRG300) and do not have a wall-mounted Fiber Jack.
- You have a custom network configuration (like static IPs) and need to keep the GFiber router connected.
How to enable bridge mode
When you use your own router, our support team can help with your GFiber connection, but they can’t troubleshoot your personal router or Wi-Fi network.
- Plug an Ethernet cable into the 10 Gbps LAN port on the back of your GFiber router.
- Plug the other end into the internet (or WAN) port on your personal router.
- Make sure no other devices are plugged into the remaining LAN ports on your GFiber router.
Before you start, download the GFiber App for Android or iOS.
- Sign in to the GFiber App.
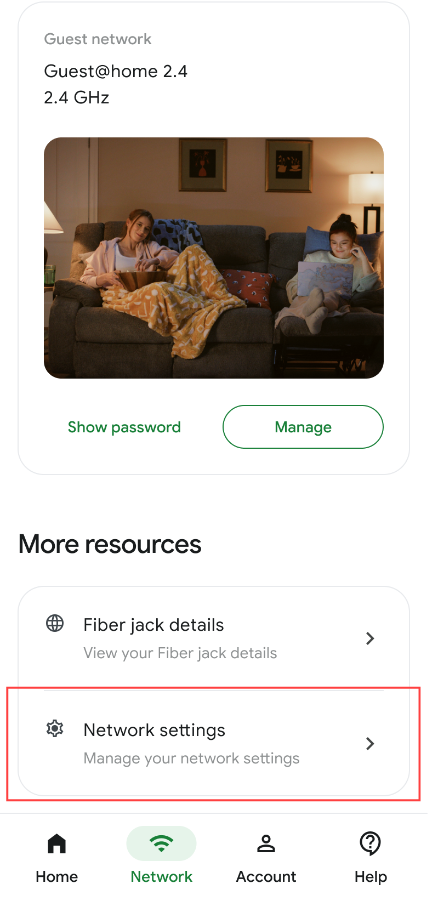
- Select the Network tab.
- Tap Network settings.
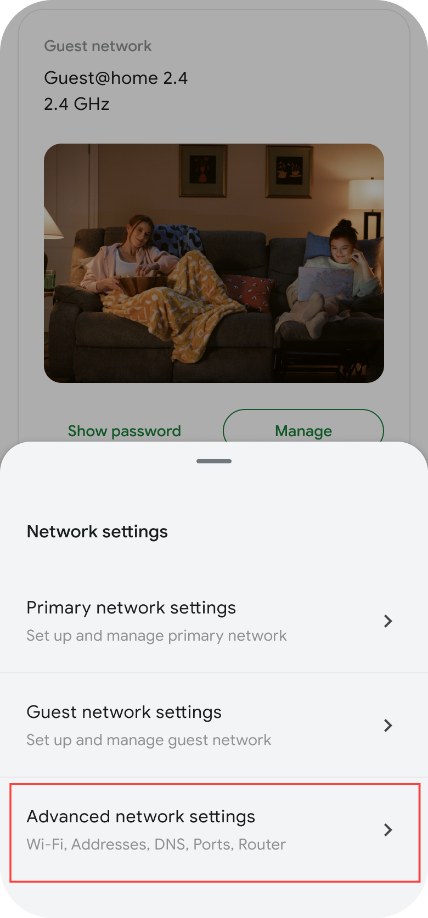
- Tap Advanced network settings.
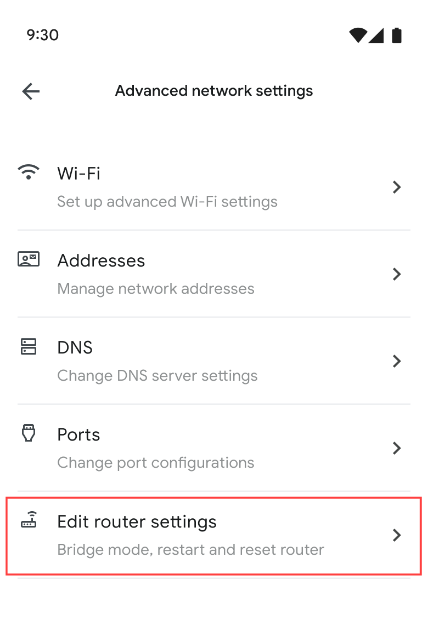
- Tap Edit router settings.
- Find Bridge mode and toggle it On.
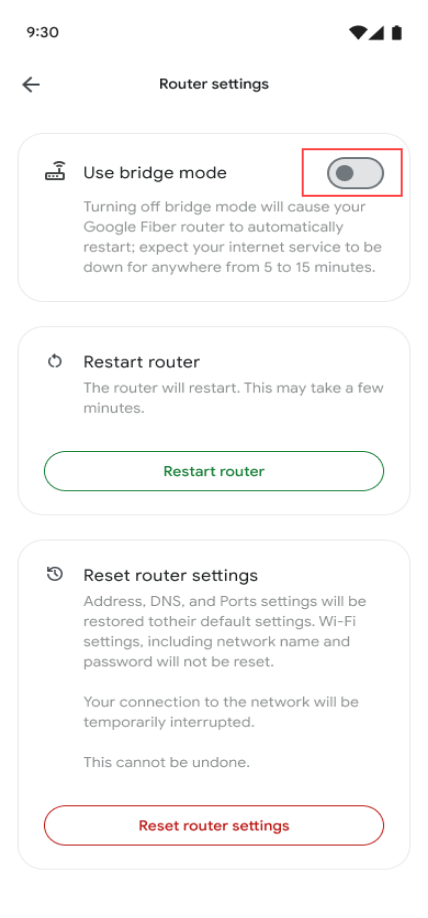
- Scroll to the bottom and tap Apply to save your changes.
- A confirmation message will appear. Your router will restart — this may take a few minutes.
Once your GFiber router has finished restarting, follow the instructions from your router’s manufacturer to set up your Wi-Fi network, if needed.