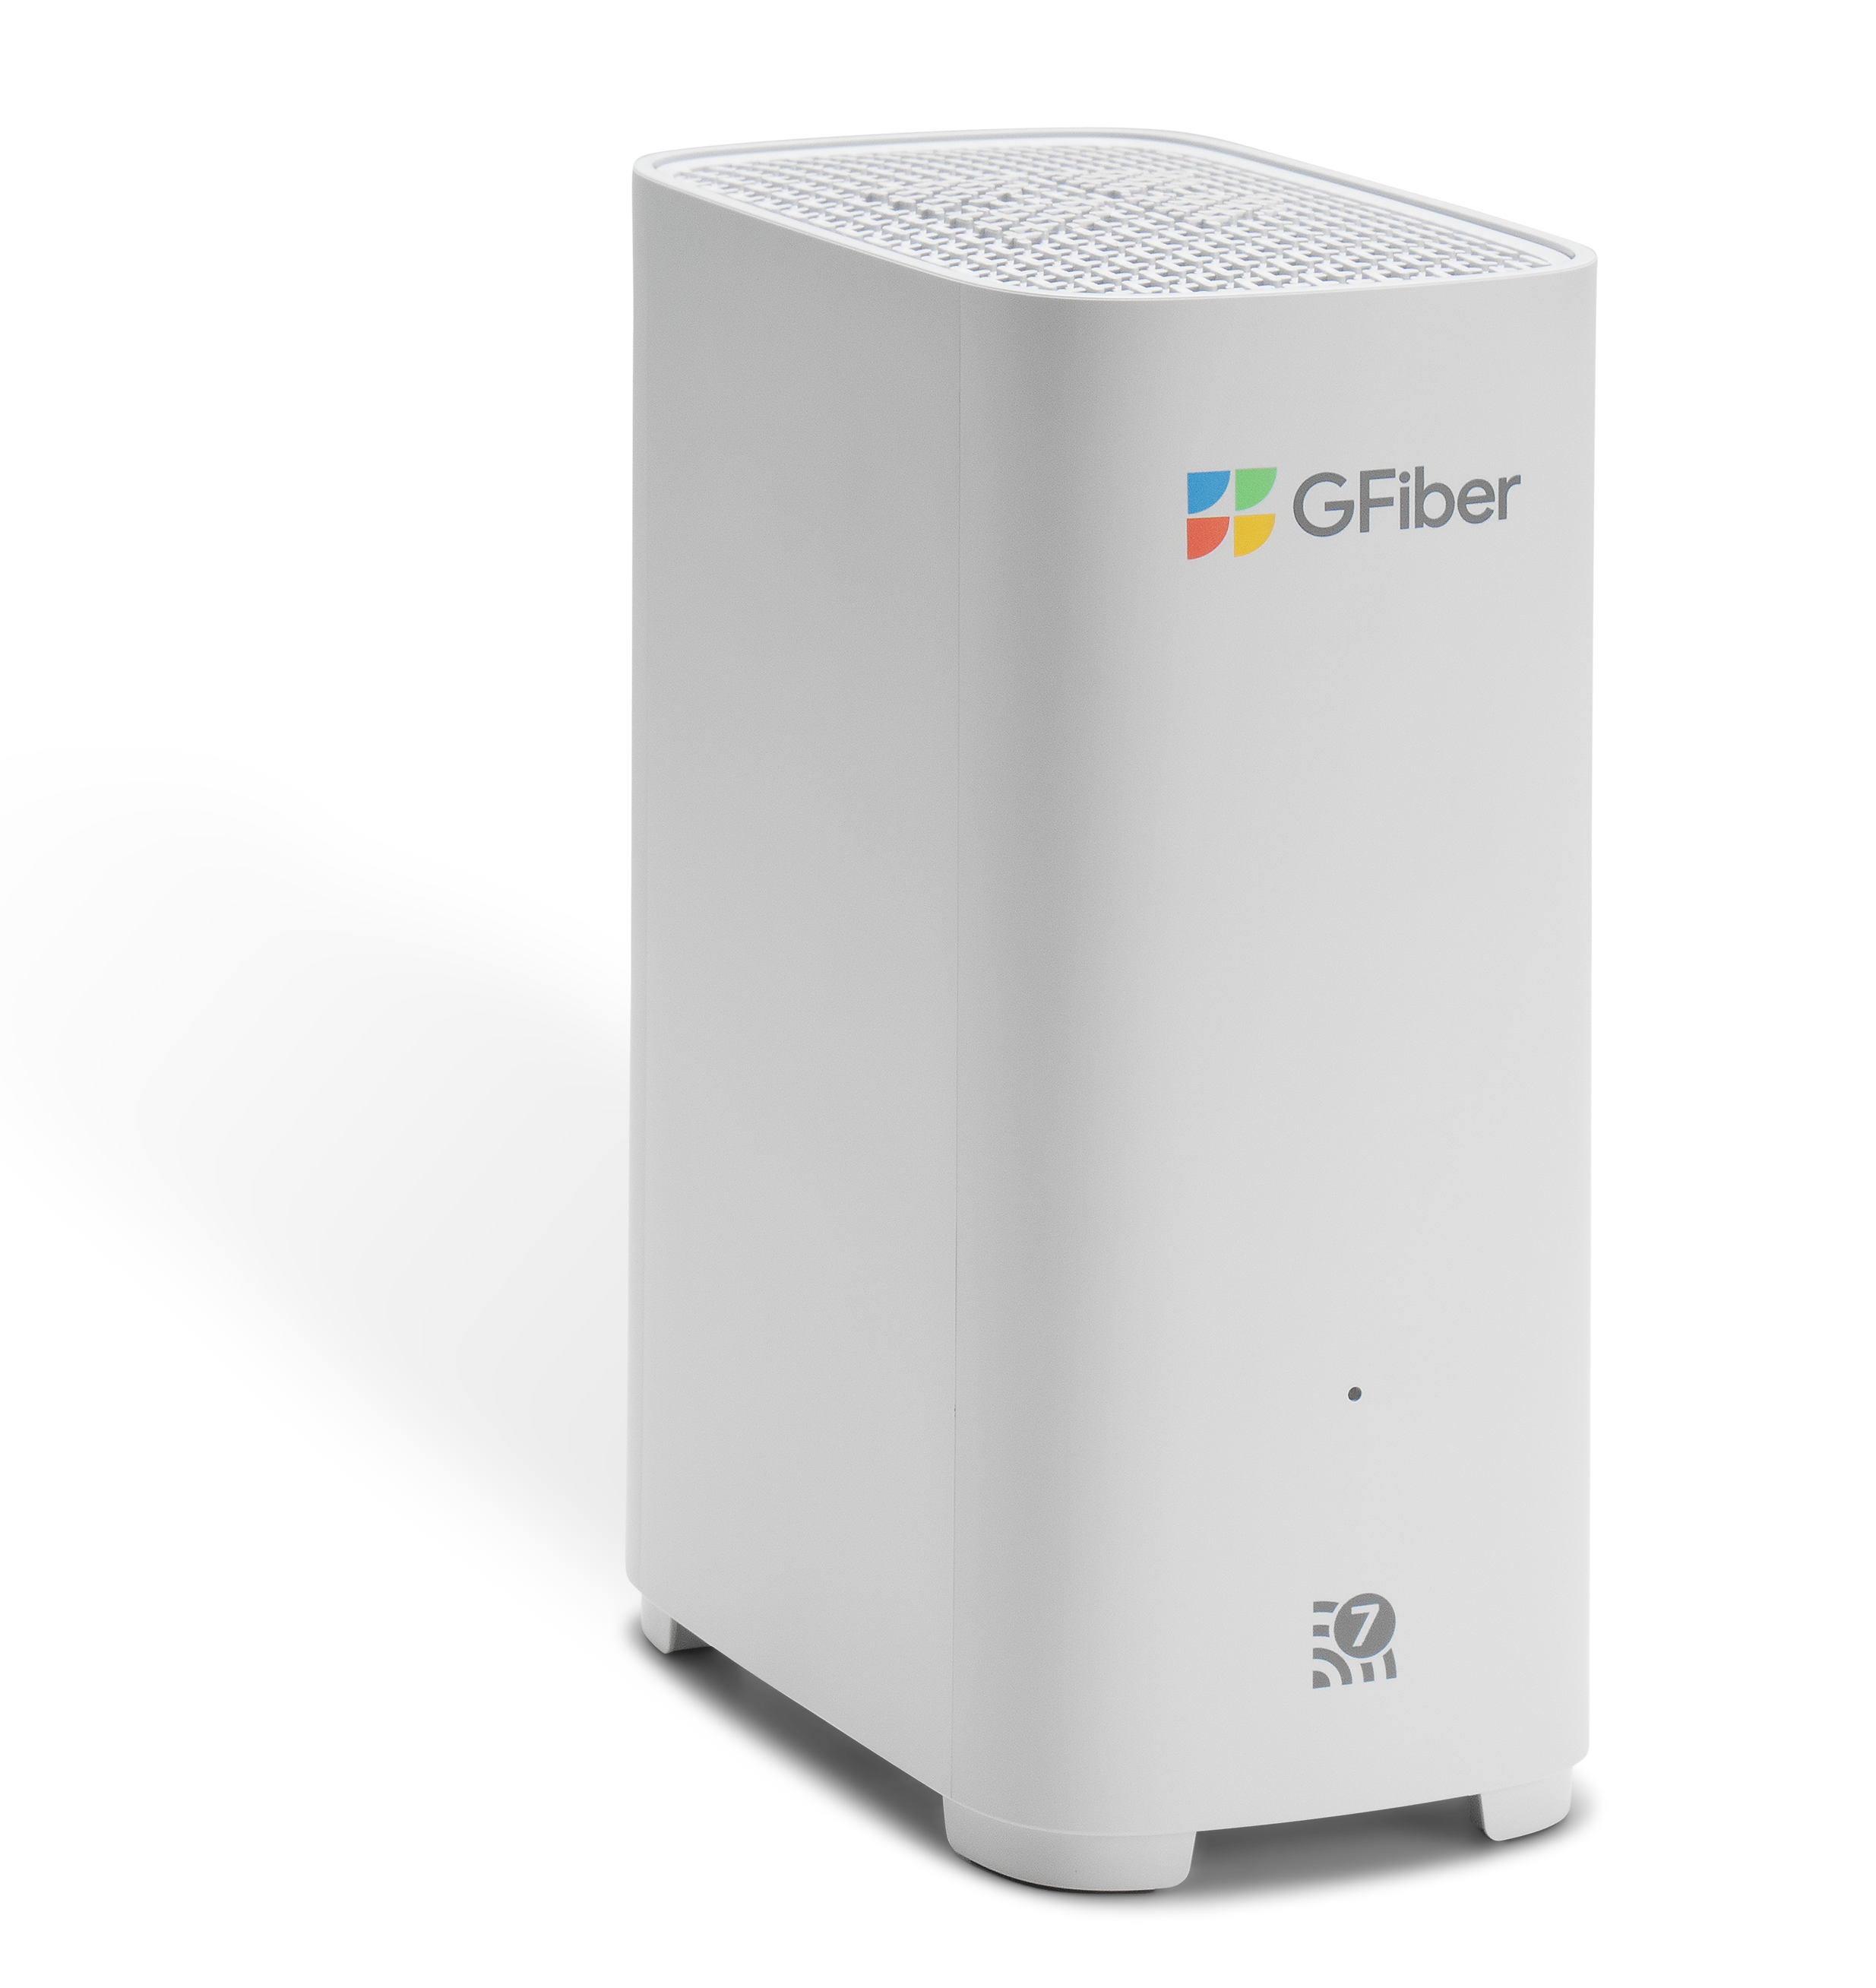
Set Up Your GFiber Wi-Fi 7 Mesh Extender
The GFiber Wi-Fi 7 Mesh Extender is designed to be used along with your GFiber Wi-Fi 7 Router to help expand your Wi-Fi coverage so you can stay connected throughout your home.
Setting it up is simple — you’ll pair it with your router (either wirelessly or with an Ethernet cable), then move it to the area where you need a stronger signal.
Follow these steps to pair your GFiber Wi-Fi 7 Mesh Extender.
Quick Setup Guide
To pair your GFiber Wi-Fi 7 Mesh Extender (GRBE331C):
- Power on your Mesh Extender.
- Press the WPS button on your mesh extender.
- Press the WPS button on your router.
- Move your mesh extender to its permanent location and plug it back in.
Total setup time: about 5–10 minutes.
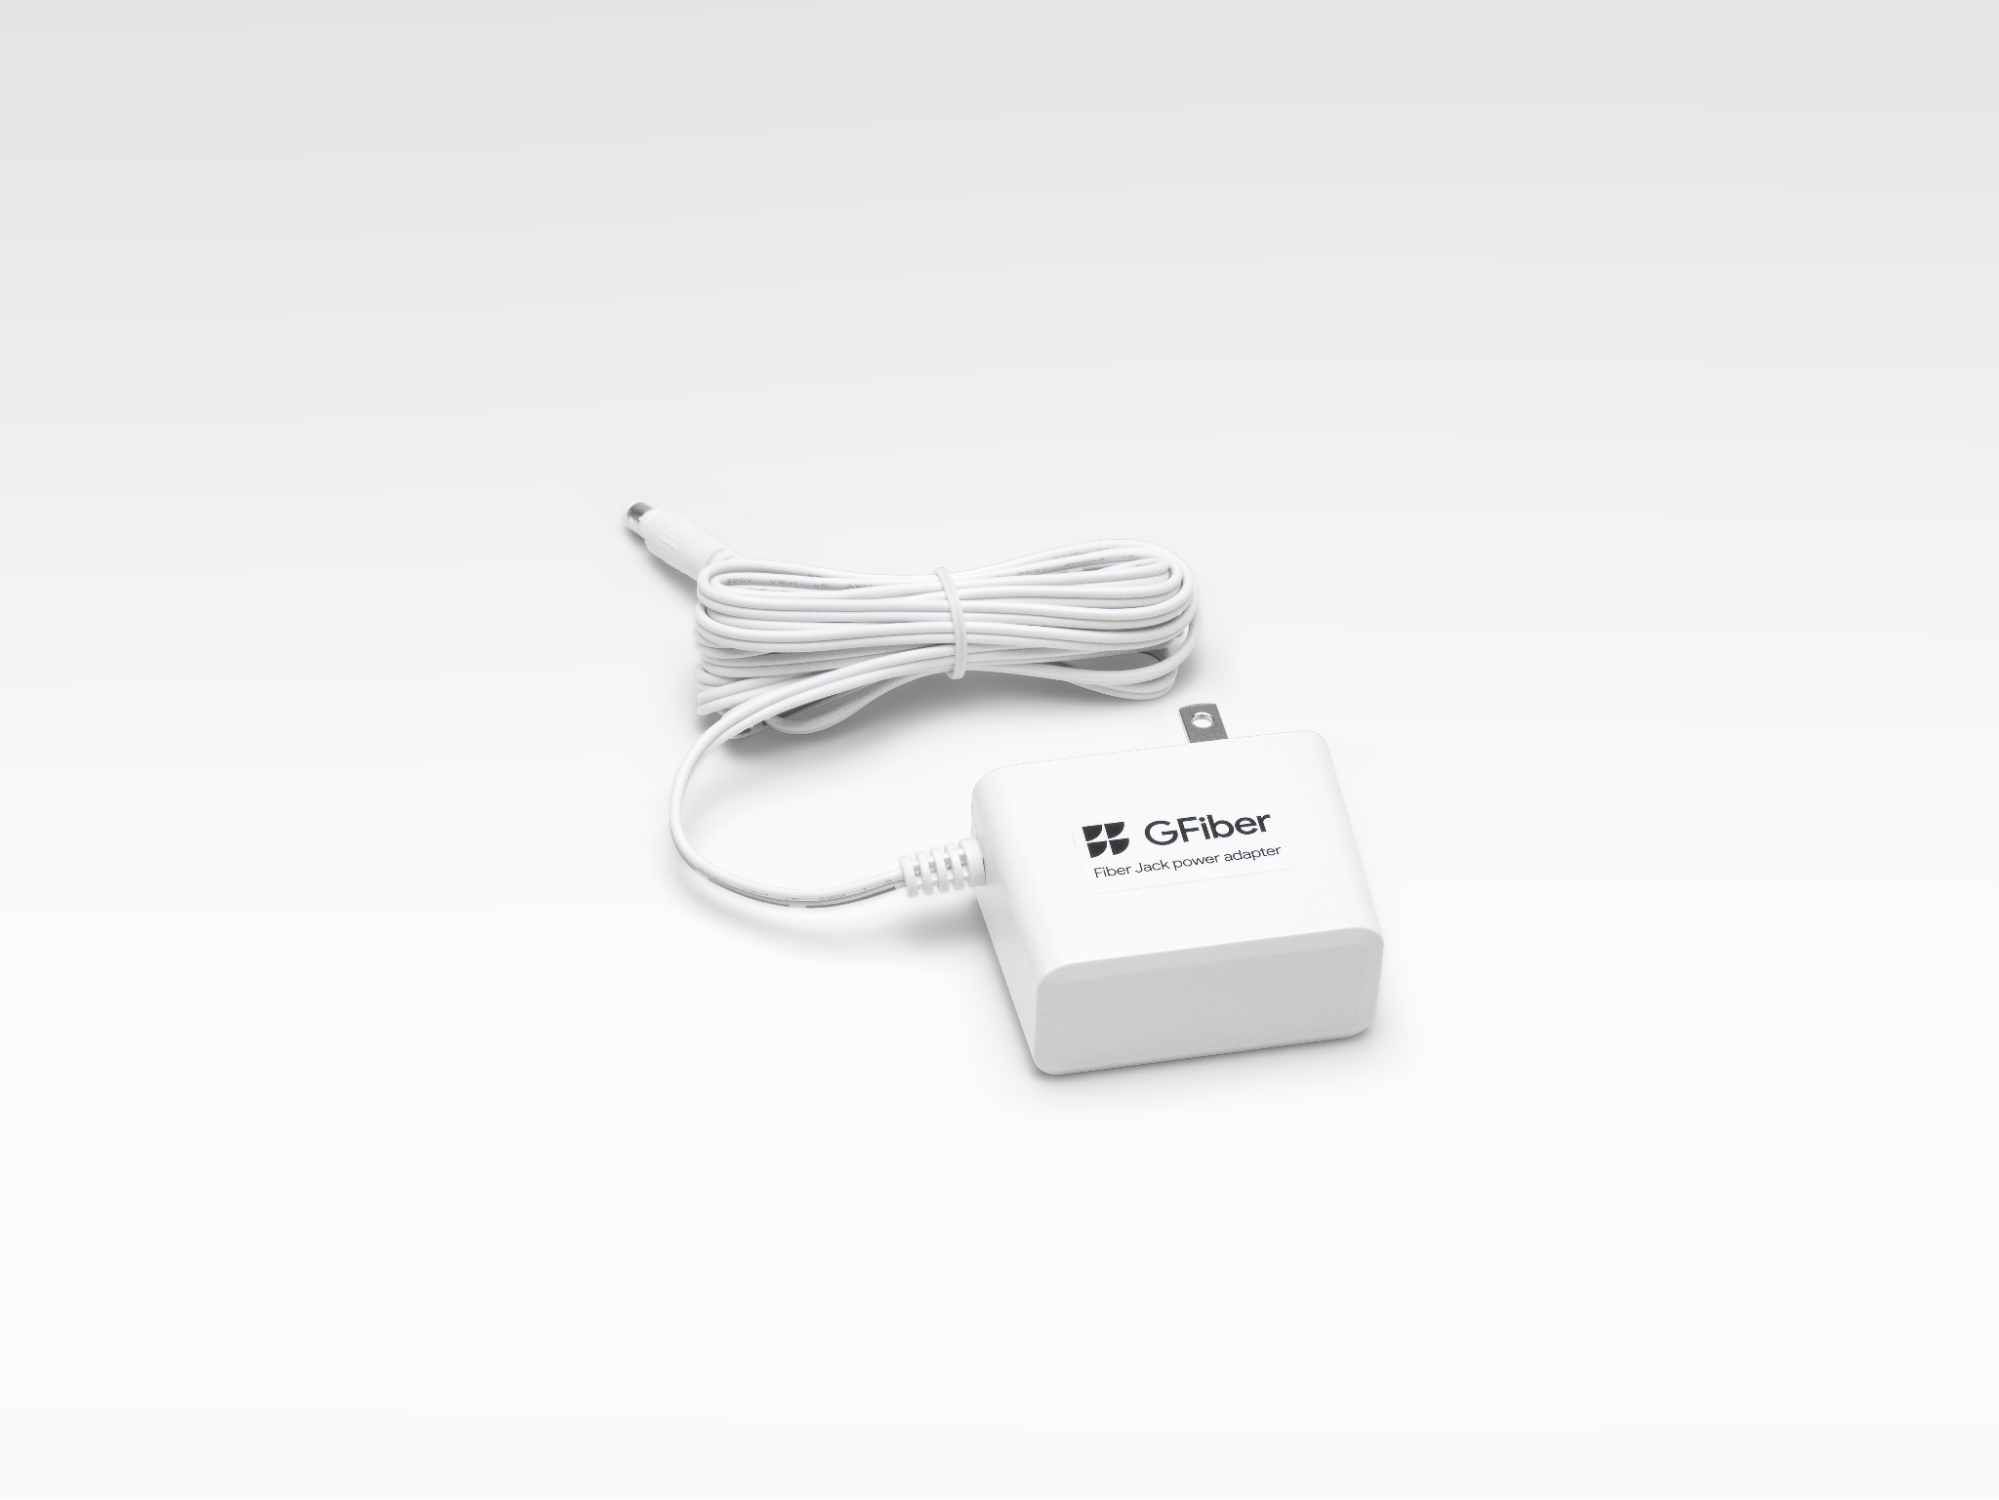
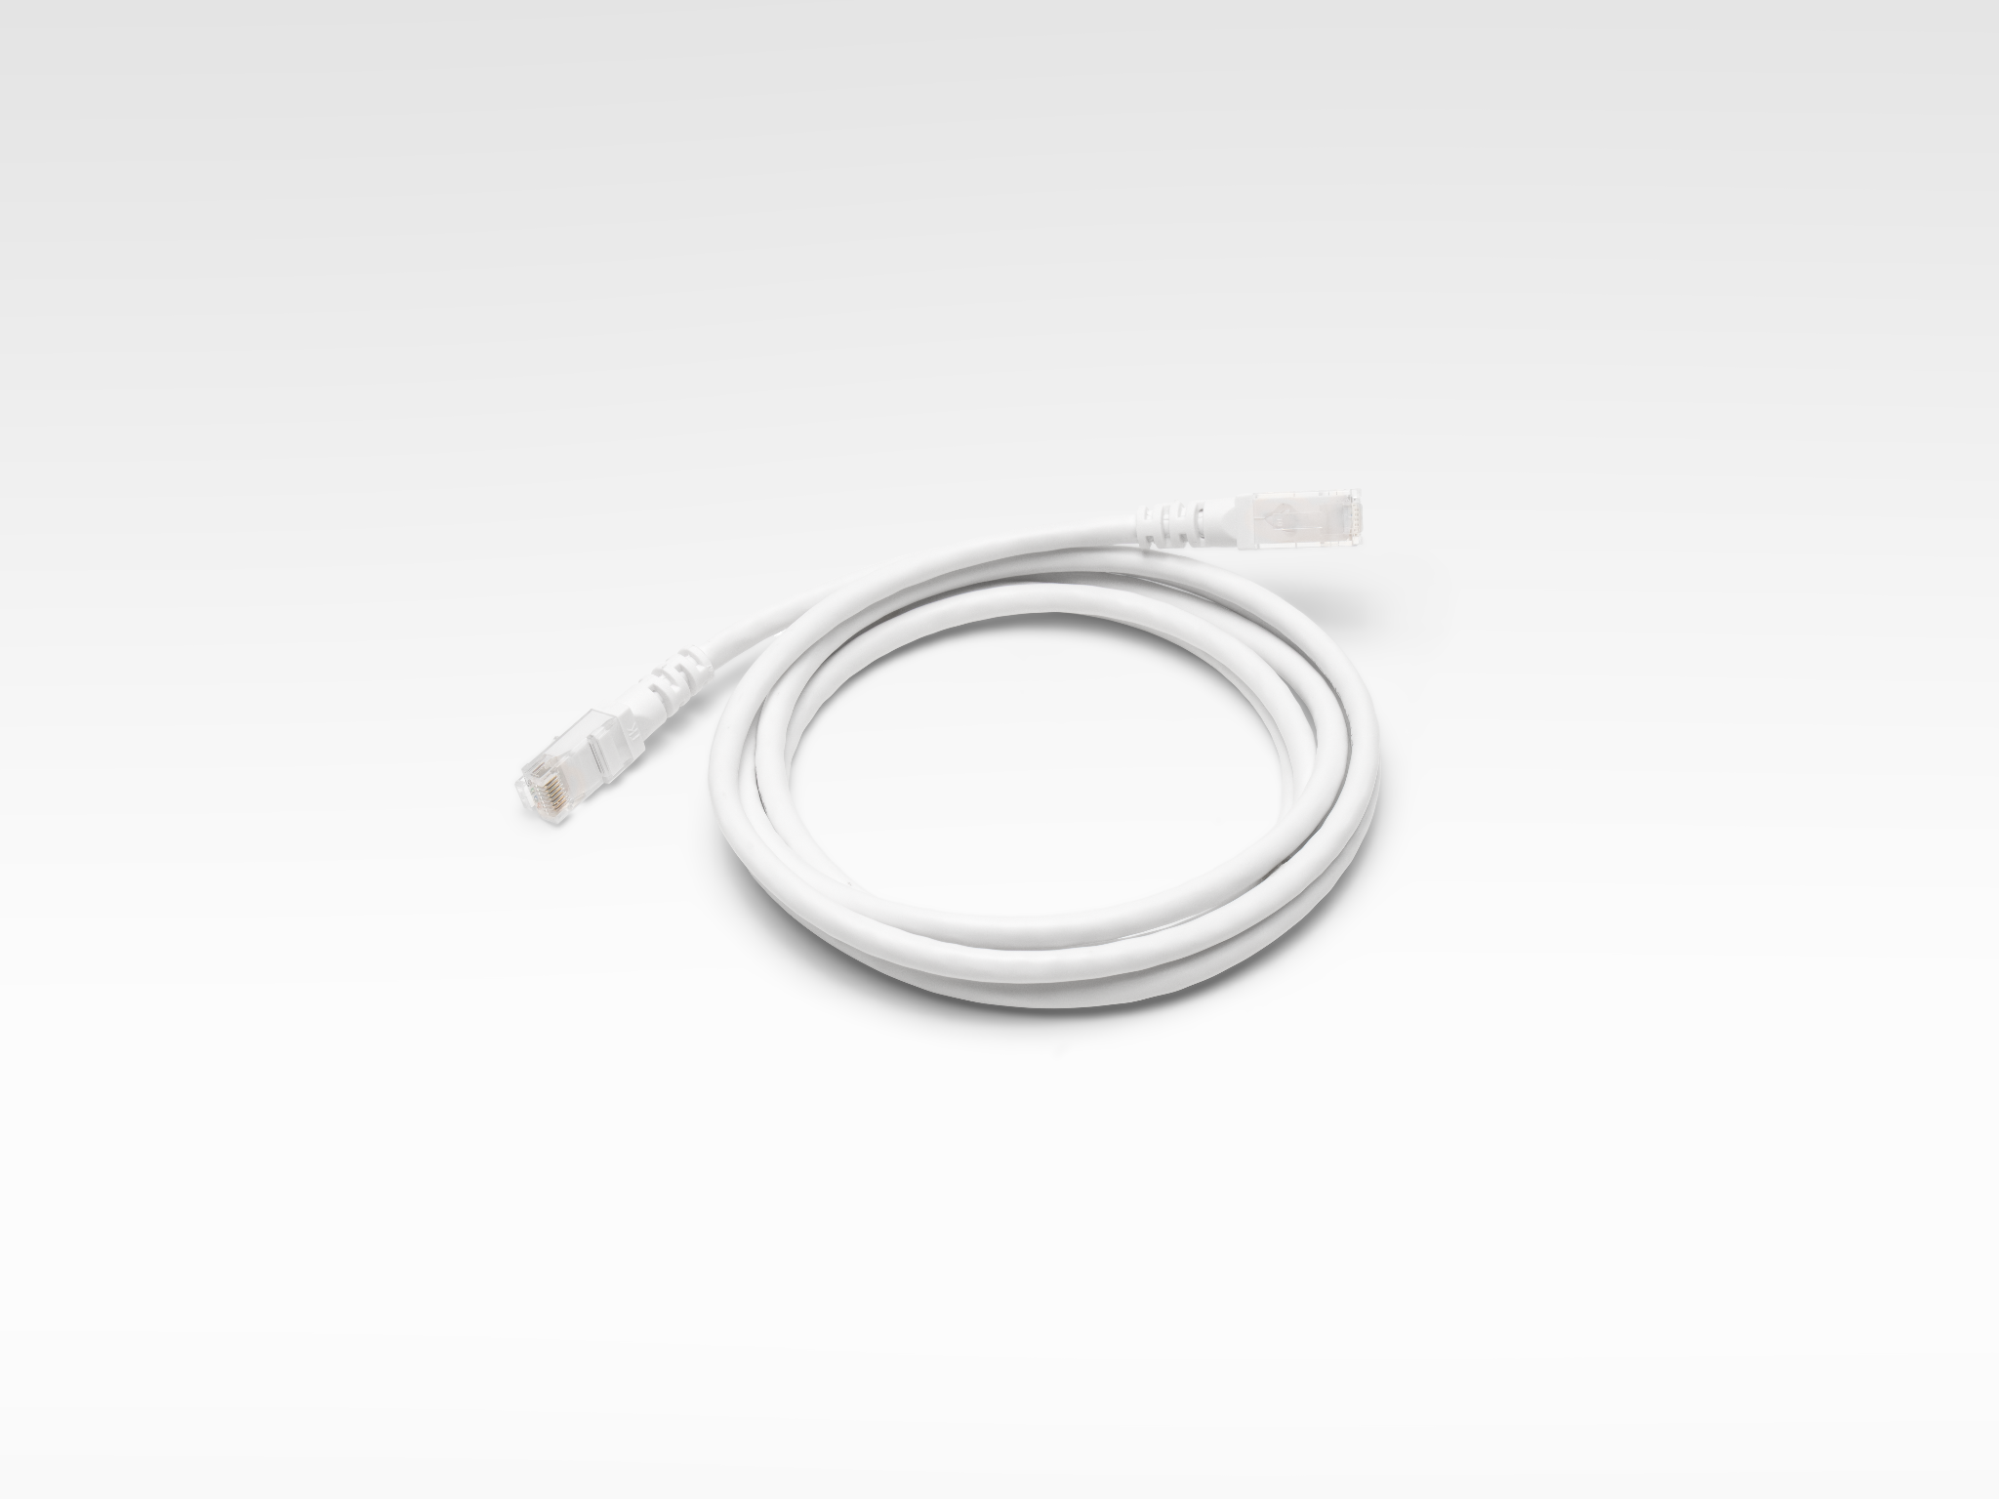
What’s in Your Self-Install Kit
Your mesh extender either came with your router in a self-install kit, or in its own separate kit. If it came in its own kit, make sure you have everything before you start:
- GFiber Wi-Fi 7 Mesh Extender (Model GRBE331C)
- 1 power adapter cord
- 1 ethernet cable
Step 1: Turn on Your Mesh Extender
- Place your mesh extender within 5 feet of your router.
- Plug it into a power outlet using the power adapter cord.
- Press the power button on the bottom to turn it on. The status light will turn solid white.
Step 2: Pair the Mesh Extender with Your Router
- Press the WPS button on your Wi-Fi 7 Router. The light will start blinking.
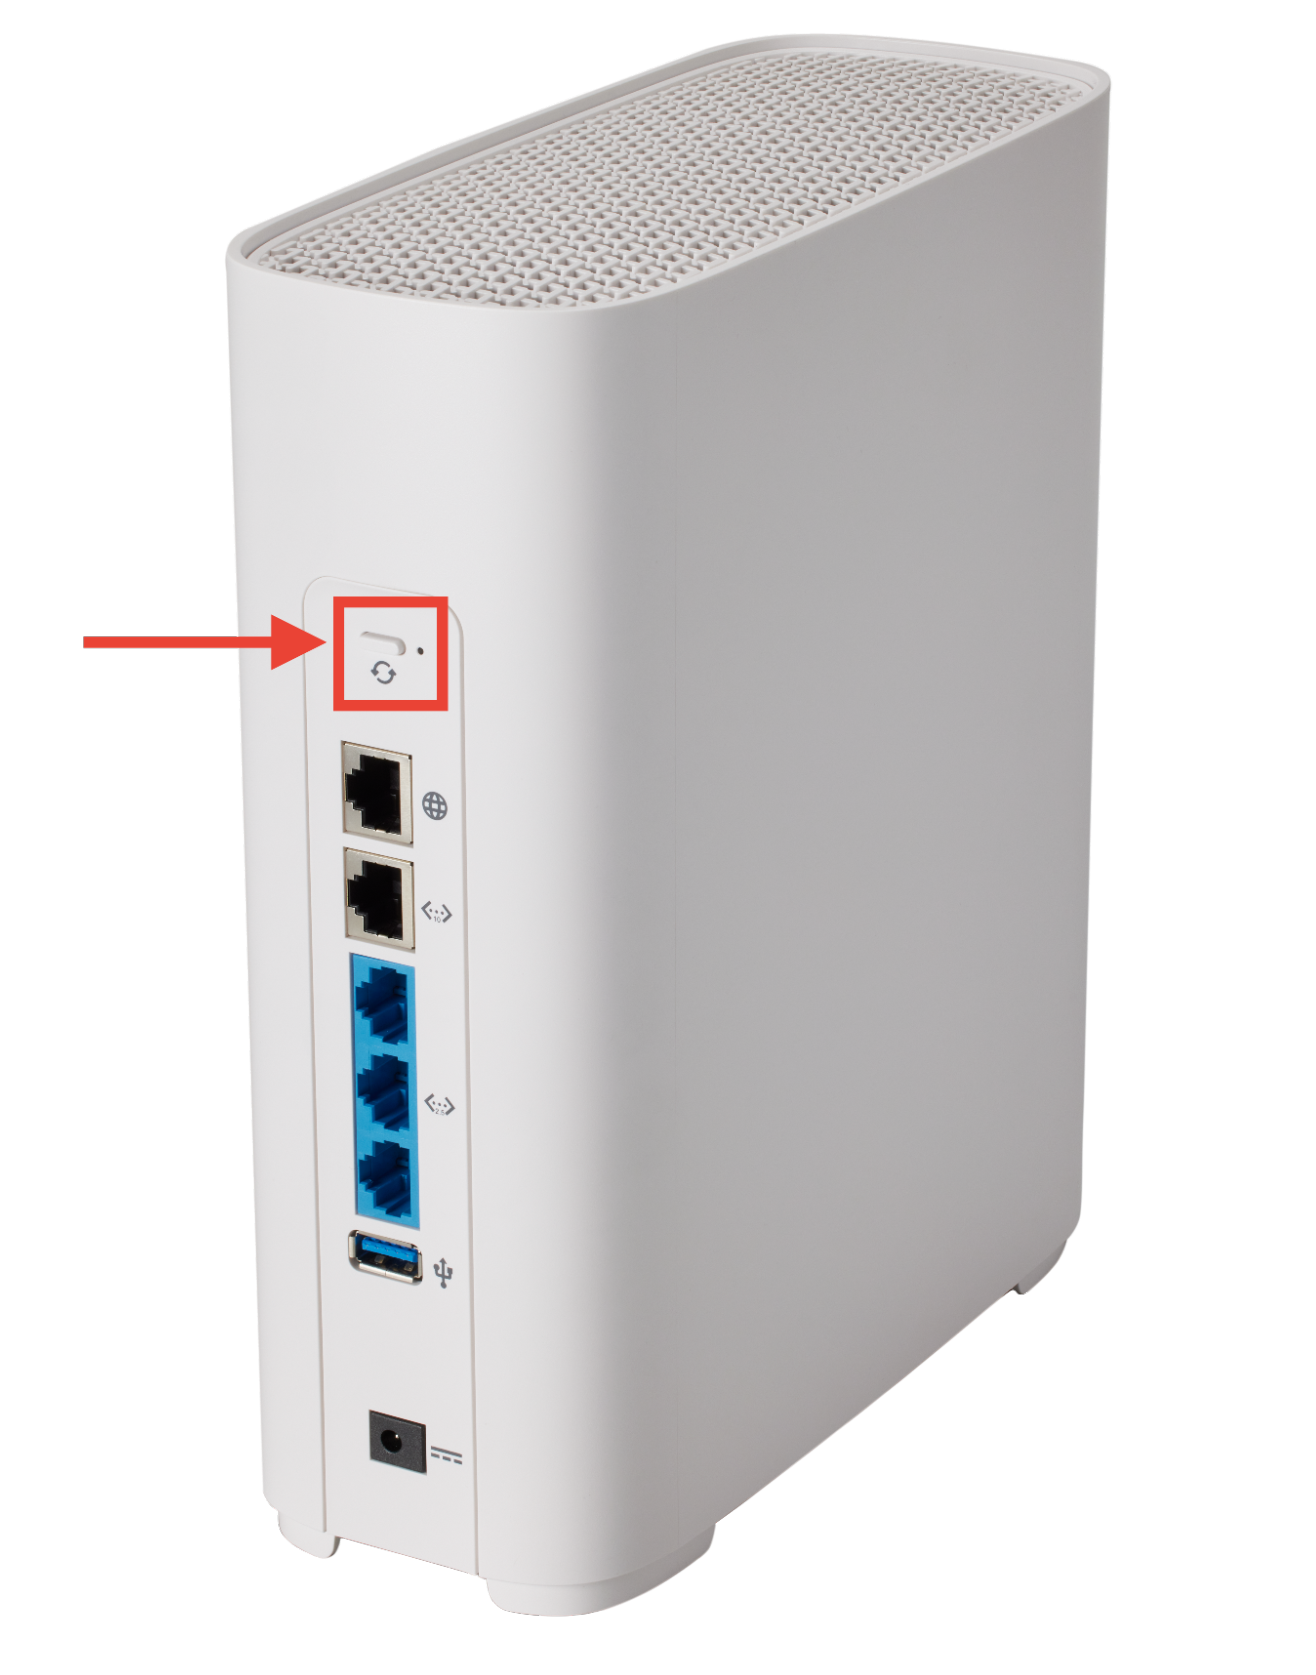
- Press the WPS button on the bottom of your mesh extender. The light will start blinking.
- Once pairing is complete, the mesh extender status light will turn solid green.
Step 3: Move Your Mesh Extender to Its Permanent Spot
- Unplug the mesh extender and move it to where you plan to use it — ideally halfway between the router and the devices you want to reach.
- Plug it in and turn the power back on.
- The status light will turn solid green, yellow, or red to show your connection strength.
You can run a speed test to confirm your connection is working.
Mesh Extender Light Status Guide
Here’s what the lights on your Mesh Extender mean:
| LED Color | What it means | What to do |
|---|---|---|
| Solid green | Connected | You’re all set! |
| Blinking green | Powering on | You’re all set! |
| White | Ready to pair | Start the pairing process. |
| Blinking white | Pairing is in progress | Make sure the extender is close to the router. |
| Red | No connection | Move the extender closer to the router and try pairing again. |
FAQs
We recommend no more than 2 for a home network. More than that can actually hurt your Wi-Fi performance by causing interference — so more isn’t always better.
You typically only need an extender if:
- Your home is larger than 2000 sq. ft.
- You have areas with weak Wi-Fi signal.
- You do a lot of video calls, gaming, or streaming and need strong, consistent coverage throughout your home.
Not sure? Use the Network Health tool in the GFiber App to check your coverage.
MLO (Multi-Link Operation) is a Wi-Fi 7 feature that lets your router and mesh extender communicate across multiple bands — like 5 GHz and 6 GHz — at the same time. The result is a faster, more reliable connection throughout your home.
MLO is automatically enabled between your GFiber Wi-Fi 7 Router and Wi-Fi 7 Mesh Extender on the backhaul link — the high-speed connection between them. Any device connected to the extender, wired or wireless, benefits from the increased reliability and speed this provides.
That said, most phones and laptops don’t support MLO yet — even Wi-Fi 7-capable ones. As the technology matures, MLO support for Wi-Fi 7 client devices will be added in a future software update.
We recommend no more than 2 for a home network. More than that can actually hurt your Wi-Fi performance by causing interference — so more isn’t always better.
You typically only need an extender if:
- Your home is larger than 2000 sq. ft.
- You have areas with weak Wi-Fi signal.
- You do a lot of video calls, gaming, or streaming and need strong, consistent coverage throughout your home.
Not sure? Use the Network Health tool in the GFiber App to check your coverage.
| Feature | GFiber Wi-Fi 7 Mesh Extender details |
|---|---|
| Radio configuration | 2x2 (2.4GHz), 2x2 (5GHz), 4x4 (6GHz) |
| LAN ports | 10G (1 port)2.5G (1 port) |
| CPU | Quad-core A53 @ 1.5 GHz |
| Flash | 256MB |
| RAM | 1GB DDR4 |
| MLO | Dual-band (5GHz & 6GHz) |
| EasyMesh | EasyMesh R4 |
| Mesh extender dimensions | 7.5" H x 3.25" W x 5.5" D |
| Power adapter dimensions | 3” H x 1.25” W x 2.5” D |
| Radio configuration | 2x2 (2.4GHz), 2x2 (5GHz), 4x4 (6GHz) |
| LAN ports | 10G (1 port)2.5G (1 port) |
You can move it anytime — no special process needed.
- Unplug the extender and plug it into a power outlet at the new location.
- Wait for the status light to turn solid, which confirms it’s reconnected.
- Open the GFiber app to check your signal quality.

Just repeat the same setup process for each device.
To pair an additional extender:
- Plug it into power.
- Pair it with your router using an Ethernet cable or follow the setup steps in the GFiber App.
- Wait for the status light to confirm the connection.
- Move it to its permanent spot.
Tips for the best performance:
- Set them up in order. Place them in a sequence: Router -> Extender 1 -> Extender 2.
- Give them space. Placing extenders too close together can cause interference.
- Less is more. Too many extenders can lead to congestion and slower speeds.
Extenders are available based on your specific service and equipment — not as a standard retail purchase. Here’s how to check:
- Your GFiber account: Sign in online to see available equipment add-ons.
- The GFiber App: Check if your current service supports ordering additional equipment.
- Contact us: Reach out via chat or phone and we can help you figure out what you're eligible for.
In many cases, extenders are included with your service at no extra cost.