Set Up Your GFiber Phone

Quick Setup Guide
Total setup time: about 5–10 minutes.
To install your GFiber Phone Box:
-
Verify the GFiber network status.
-
Connect the Phone Box to the router via Ethernet.
-
Connect the telephone to the Phone Box.
-
Power on the Phone Box.
-
Configure voicemail and advanced settings.
What’s in Your Self-Install Kit
-
GFiber Phone Box (Model GFPB100 or GAPB110P)
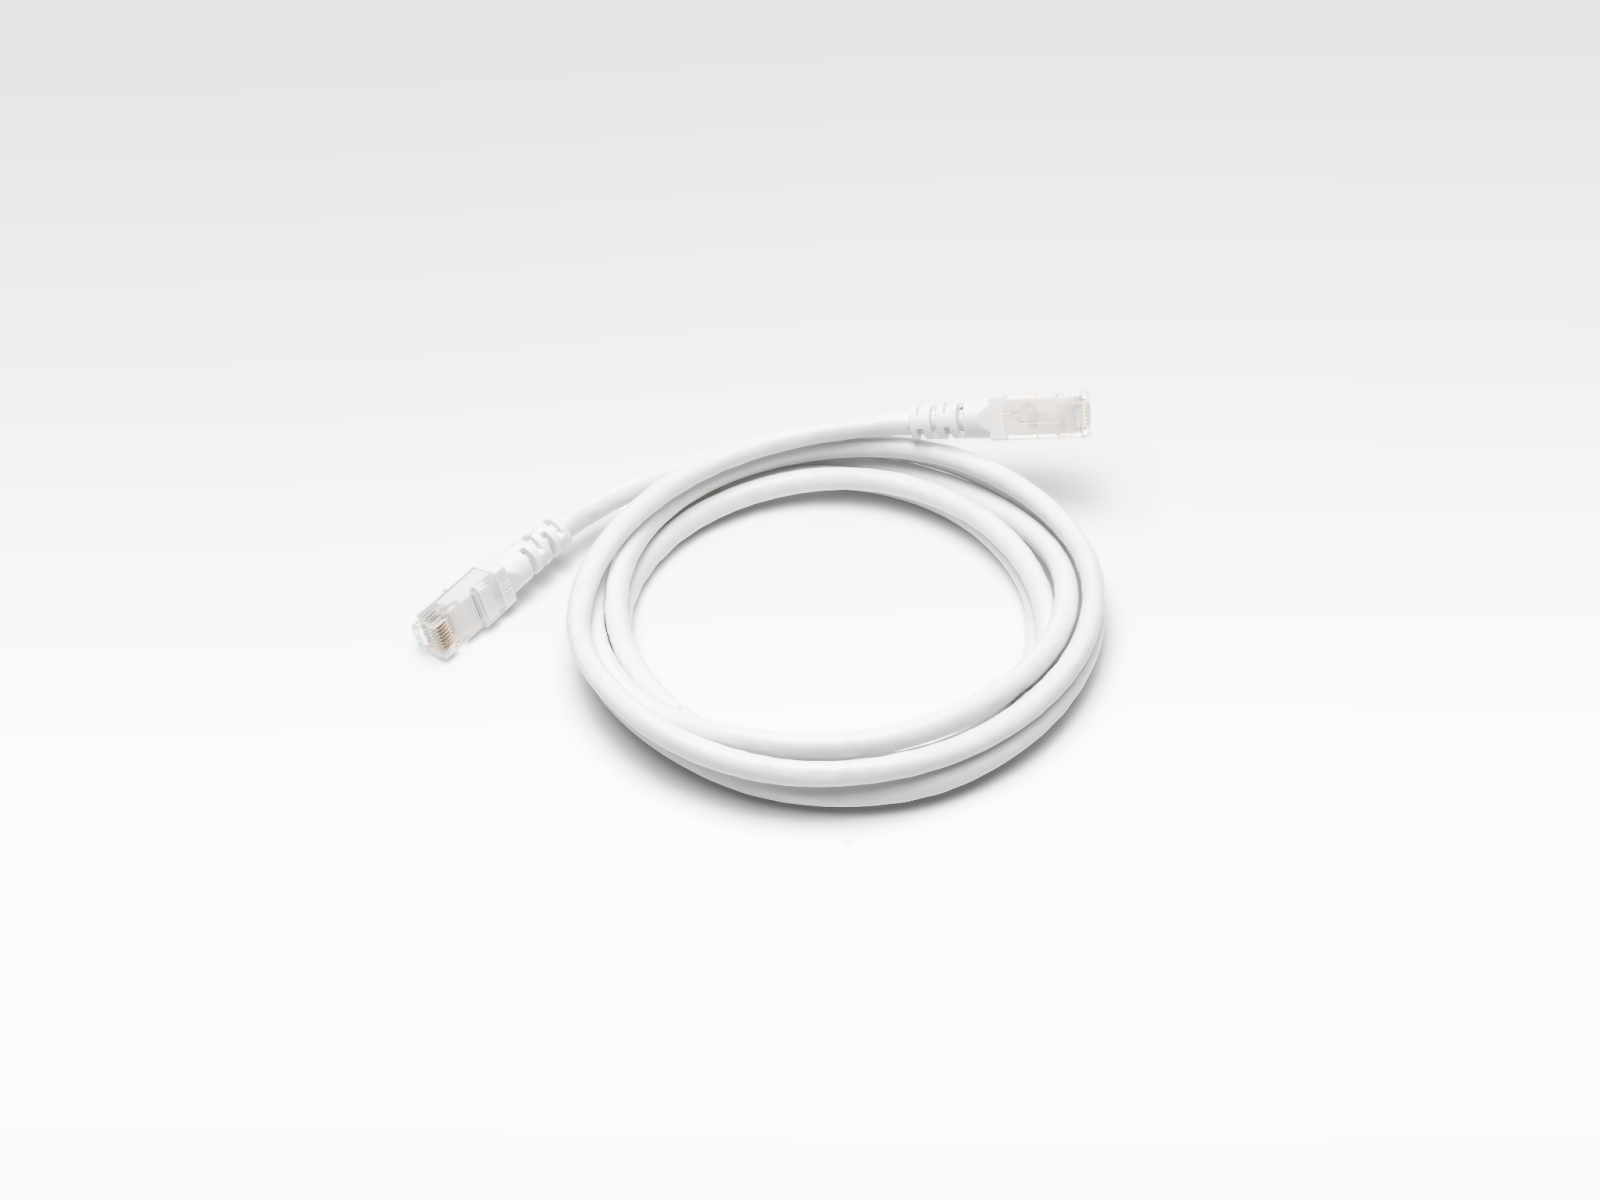
- 1 Ethernet cable
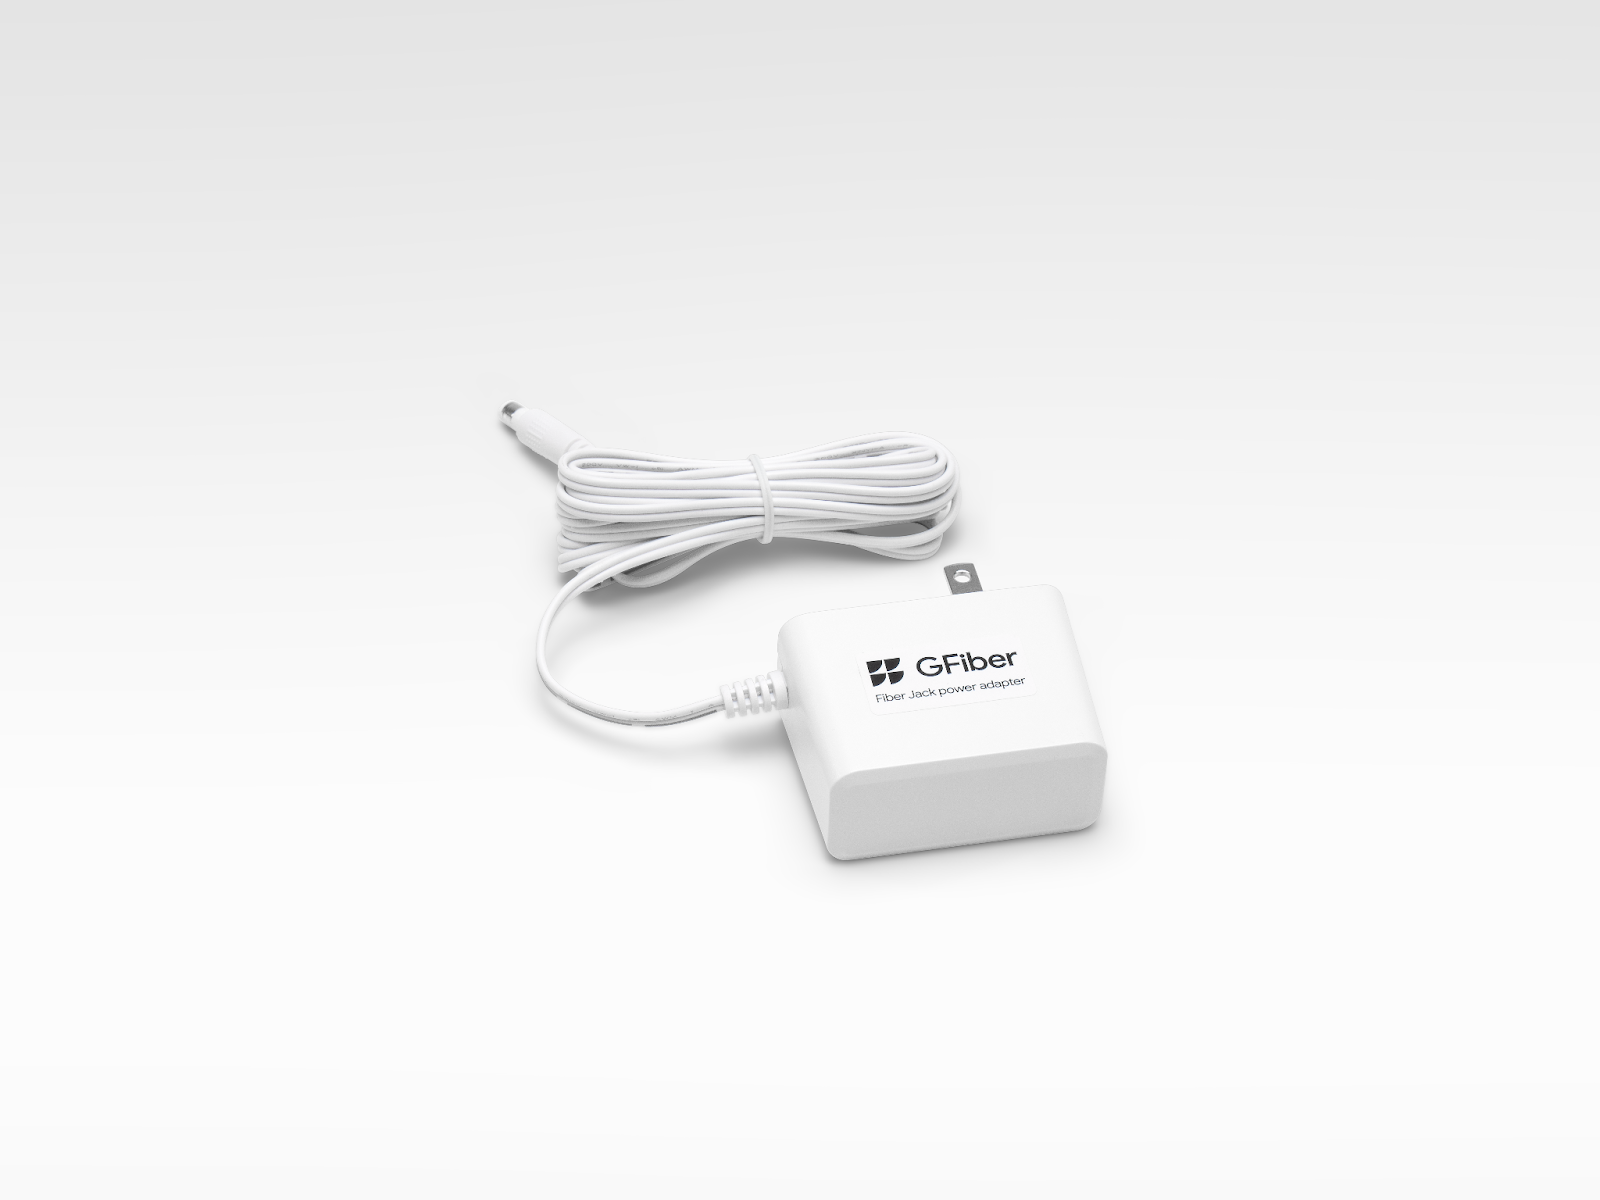
- 1 power adapter
Step 1: Check Your GFiber Network
Confirm that your router is fully connected and your GFiber internet service is active and functional before continuing.
Step 2: Connect Your Phone Box
-
Locate the provided Ethernet cable from your kit.
-
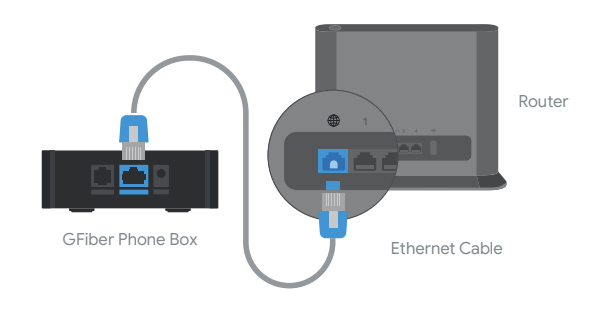
Connect one end of the Ethernet cable to the Phone Box.
-
Connect the other end of the Ethernet cable to an open port on your router.
 Note: If your router lacks a spare Ethernet port, you can use an external Ethernet adapter or network switch.
Step 3: Connect Your Phone
-
Locate your existing telephone cable.
-
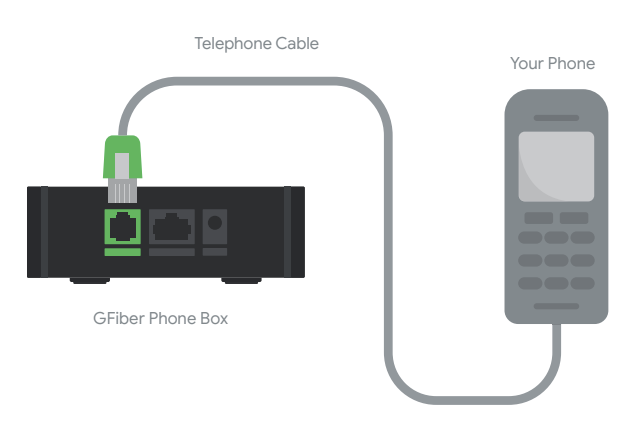
Connect one end of the telephone cable to your phone.
-
Connect the other end to the port labeled for the phone on the GFiber Phone Box.
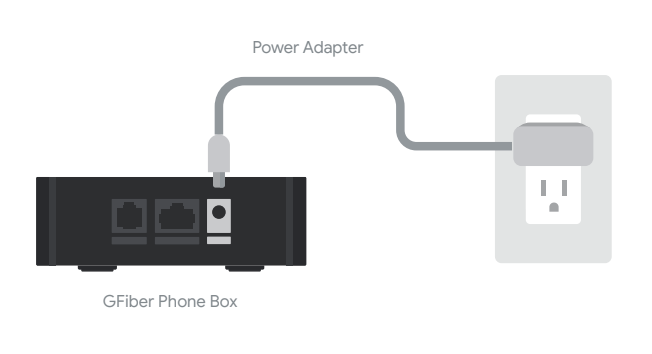
Step 4: Connect the Power Adapter
-
Plug the provided power adapter into the GFiber Phone Box.
-
Plug the opposite end of the power adapter into a standard electrical power outlet.
Step 5: Set up Your Voicemail
Your voicemail box is automatically generated upon GFiber Phone service activation. You must set a secure Personal Identification Number (PIN) during your first login.
Method A: Set up PIN by Phone
1234.-
Lift the receiver and dial
*98. -
When prompted, enter the default PIN
1234followed by the#key. -
Follow the automated voice prompts to create a new secure PIN (minimum of 4 digits).
Method B: Set up via Google Voice
If dialing *98 fails, your service may be managed through Google Voice. Use these alternative steps:
-
Sign in to the Google Voice platform using your GFiber Phone account credentials.
-
Navigate to the top right corner and click Settings.
-
Select the Voicemail & Text tab.
-
Locate the Voicemail PIN field, enter your new PIN, confirm it, and click Save changes.
-
To access your voicemail moving forward, dial
*99from your GFiber Phone.
Step 6: Set Advanced Settings
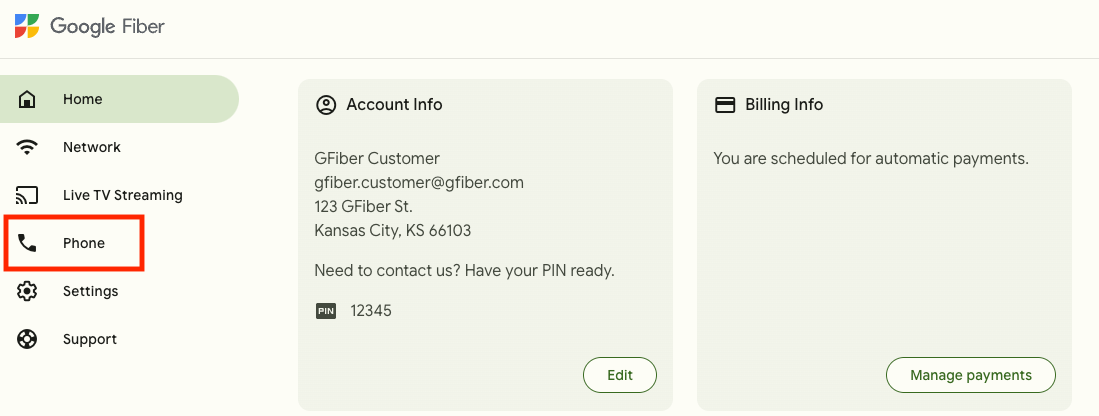
Sign in to your GFiber account using your email and password, then select Phone from the navigation menu.
-
Sign in to your online GFiber account using your email and password.
-
Select Phone from the primary navigation menu to access your phone dashboard.
Available Customization Features
From the dashboard, you can configure the following call-handling features:
-
Call Availability: Toggle Call Waiting or Do Not Disturb to manage interruptions.
-
Call Routing: Configure Simultaneous Ringing (ring multiple numbers at once) or Sequential Ringing (ring numbers one after another).
-
Scheduling: Create custom automated schedules to adjust call-handling rules based on specific hours or days.
-
Call Control: Enable Call Screening, manage Caller ID settings, or activate call blocking for unwanted numbers.
The LEDs on the front of the Phone Box indicate its status. If you're having trouble with your equipment, you can use the detailed information to diagnose the issue based on how the LEDs look.
If you've connected your Phone Box and it isn't working, you can follow these steps to powercycle or reset it to try and solve the issue. If powercycling or resetting doesn't resolve the problem, contact GFiber customer support.